
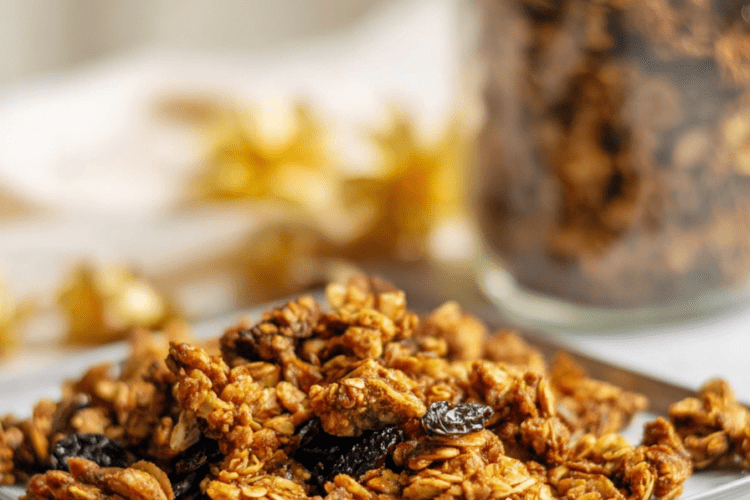
Welcome to my kitchen! Today, we’re making homemade vegan granola together, and honestly? It might just change your breakfast routine for good.
I’ve been making granola from scratch for years now. And every single time I pull a fresh tray out of the oven, that warm wave of cinnamon and toasted oats hits me like a hug. Store-bought granola can’t touch that. Not even close.
Here’s the thing most people don’t realize. Those grocery store boxes are usually packed with refined sugars, mystery oils, and preservatives you can’t even pronounce. When you make it yourself, you know exactly what’s going in. Every ingredient. Every spoonful.
Why This Recipe Actually Works
A lot of homemade granola recipes end up either too dry or annoyingly soft. The secret is nailing the wet-to-dry ratio.
We skip refined oils entirely in this recipe. Instead, we lean on the natural fats in nut or seed butter. It gives the granola a rich, satisfying mouthfeel without ever feeling greasy or heavy. Then Grade A maple syrup brings a gentle, earthy sweetness that pulls everything together into real, honest-to-goodness clusters.
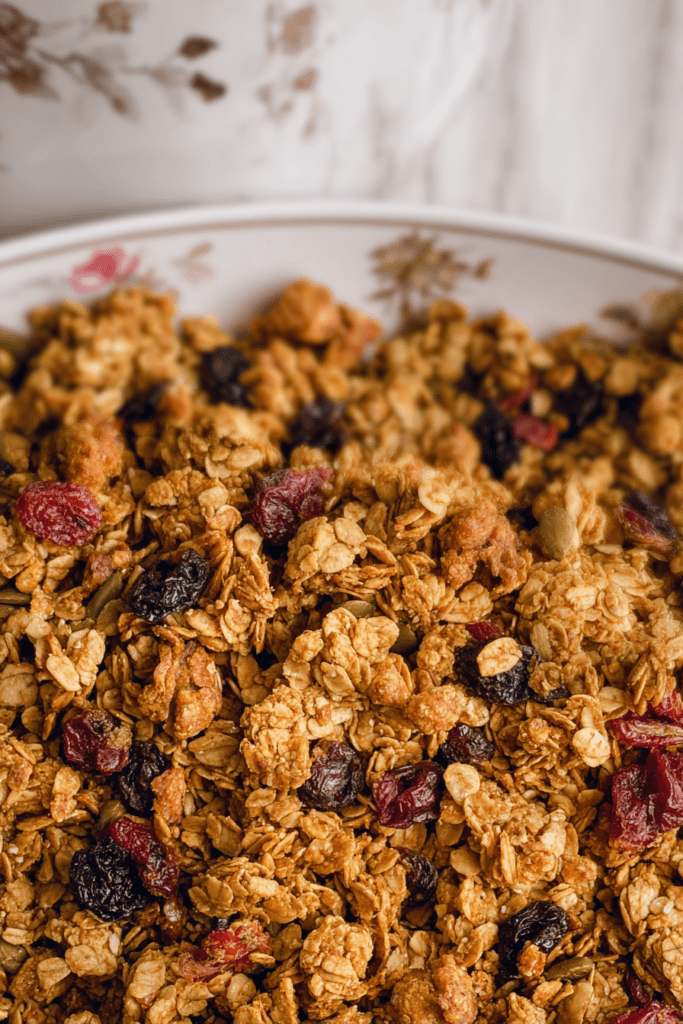
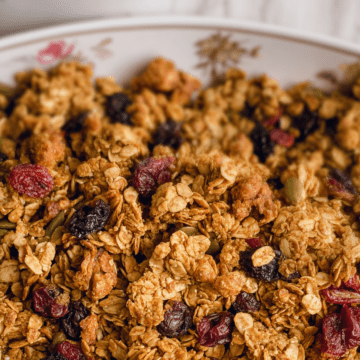
The result? Big, crunchy chunks of granola. Not sad, crumbly flakes. Actual clusters.
As a chef, I deeply respect simplicity. A great breakfast should do two things well: nourish your body and make you happy. This recipe does both.
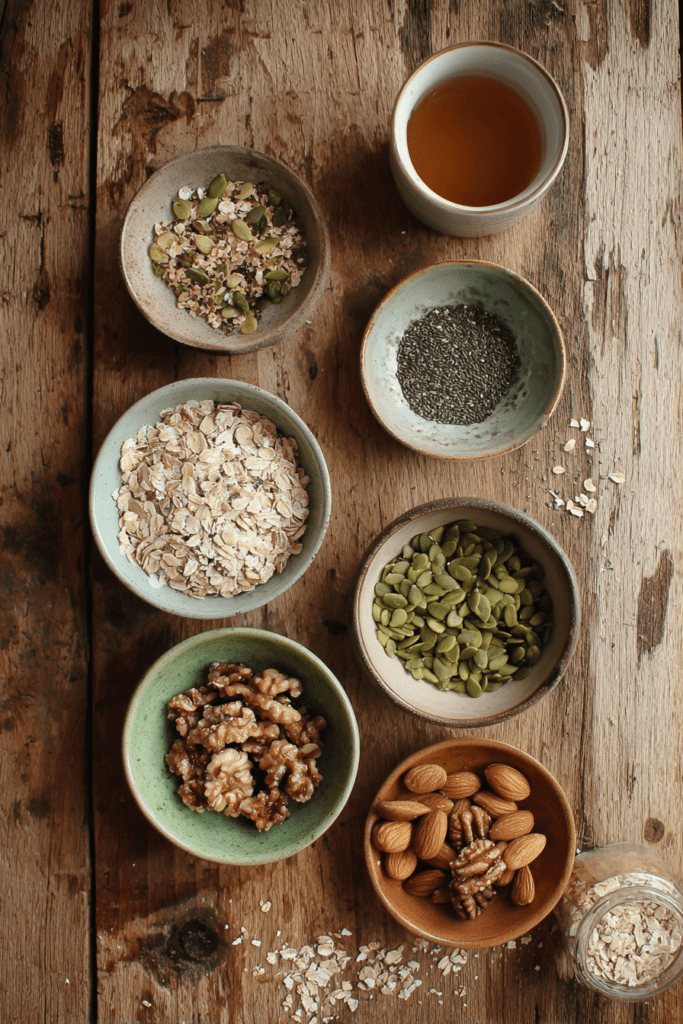
What You’ll Need
Before we get into the kitchen, let’s talk ingredients. A few key swaps here can make or break your batch. For example, finely shredded coconut will burn. Instant oats will turn mushy. Cold, stiff nut butter won’t blend evenly.
Follow this list as closely as you can for the best results.
| Ingredient | Quantity | Notes |
|---|---|---|
| Grade A maple syrup | 1/3 cup (80 ml) | Provides natural sweetness and helps bind the clusters. |
| Nut or seed butter | 1/3 cup (~80 g) | Almond, peanut, or sunflower seed butter works perfectly. |
| Vanilla extract | 1 tsp | Enhances the warm, bakery-fresh flavor profile. |
| Salt | 1/2 tsp | Fine sea salt balances the sweetness beautifully. |
| Ground cinnamon | 1 tbsp | Adds a cozy, aromatic spice note to the mix. |
| Rolled oats | 2 cups (160 g) | Do not use instant oats. Use gluten-free if necessary. |
| Pumpkin seeds | 1/2 cup (32 g) | Look for raw, unsalted green pumpkin seeds (pepitas). |
| Slivered almonds | 1/2 cup (54 g) | Slivered pieces toast more evenly than whole almonds. |
| Walnuts | 1/2 cup (58 g) | Roughly chop these for a buttery, rich crunch. |
| Unsweetened coconut flakes | 1/2 cup (~50 g) | Must be thick flakes. Finely shredded coconut will burn. |
| Dried fruit or chocolate chips | 1/3 cup (40 g) | Optional. Add these strictly after the baking process. |
One habit I always follow before I start cooking? I measure everything out first. In culinary school, they call it mise en place, which is a fancy French phrase for “everything in its place.” It sounds small, but it genuinely makes the whole process calmer and more enjoyable. No scrambling for the cinnamon while your syrup gets cold.
Quick tip on nut butter: use a natural variety that’s slightly runny at room temperature. If yours has been sitting in the fridge, let it warm up first. Cold, stiff nut butter clumps in the syrup and leaves dry oat patches. Room temperature butter blends in smoothly and coats every single oat the way it should.
How to Make It
Prep Time: 10 minutes | Cook Time: 26 minutes | Total Time: 36 minutes | Servings: 6 | Difficulty: Easy
Step 1: Preheat Your Oven
Set your oven to 325°F (163°C).
This temperature is not random. Too hot and the nuts go bitter and dark. Too cool and the oats never crisp up properly. 325°F is the sweet spot where everything toasts slowly and evenly into golden, crunchy perfection.
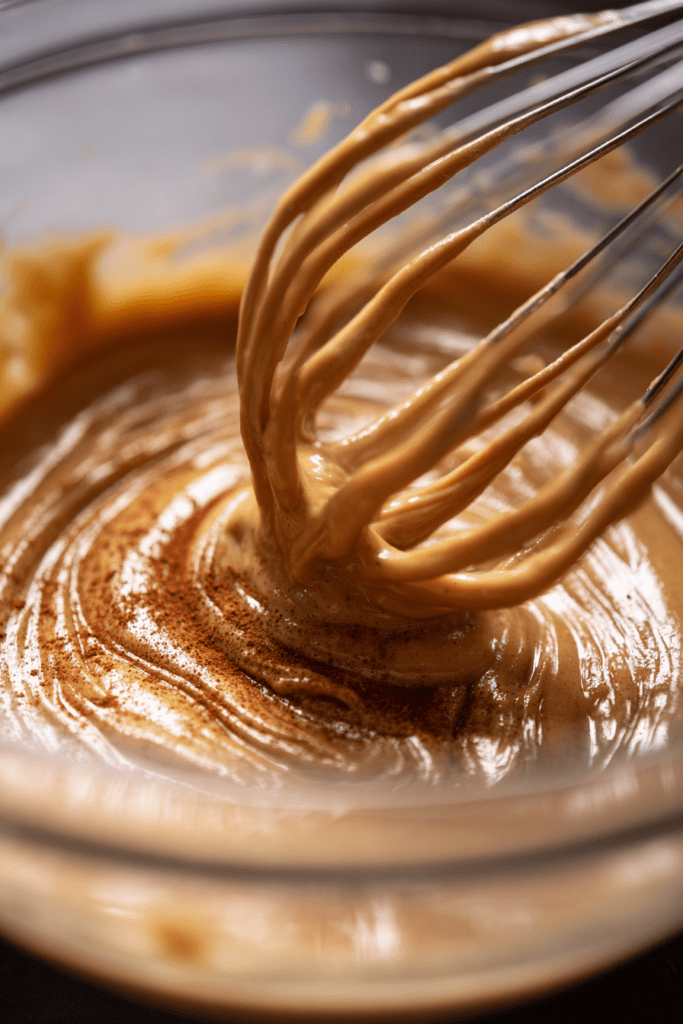
Step 2: Make the Wet Base
Grab a large mixing bowl. Add:
- 1/3 cup maple syrup
- 1/3 cup nut or seed butter
- 1 tsp vanilla extract
- 1/2 tsp salt
- 1 tbsp ground cinnamon
Whisk it all together firmly until smooth. You’re looking for a glossy, caramel-colored liquid with no lumps. This spiced syrup is what gives the granola its flavor and its stick.
Step 3: Fold In the Dry Ingredients
Add everything dry into the bowl:
- 2 cups rolled oats
- 1/2 cup pumpkin seeds
- 1/2 cup slivered almonds
- 1/2 cup chopped walnuts
- 1/2 cup unsweetened coconut flakes
Switch from the whisk to a large silicone spatula. Fold gently but thoroughly. Scrape the bottom of the bowl as you go. Every single oat and nut should look shiny and sticky. No dry spots anywhere.
This thorough coating is exactly what creates those big, satisfying clusters.
Step 4: Spread and Press
Line a large, rimmed baking sheet with a silicone baking mat. No mat? Parchment paper works too.
Pour the mixture onto the pan. Spread it toward the edges in a single, even layer.
Now here’s my favorite trick for getting massive clusters. Press the mixture down firmly with your spatula. Pack it tightly, like you’re making one giant flat cookie. This pressure forces the sticky oats to bond together. When it bakes and then cools, those bonds harden into the chunky clusters everyone loves.
Step 5: Bake in Two Rounds
Place the pan on the middle rack of your oven. Set a timer for 13 minutes. Do not open the oven. Do not stir it. Let it bake completely undisturbed.
When the timer goes off, pull the tray out. The edges should be starting to turn light golden. Gently flip and toss the mixture with your spatula so the center pieces get some oven time too. Once tossed, press it back down flat again.
Return it to the oven for another 10 to 13 minutes. Watch closely toward the end. You want deep golden color and toasted coconut flakes, not dark brown or burnt edges.
Step 6: Cool Completely Without Touching It
Pull the pan out when it’s perfectly golden. It’ll feel soft right now. That’s normal. Don’t panic.
Set it on a wire rack and walk away. Let it rest for at least 45 minutes, completely undisturbed. No stirring. No poking. No sneaking a piece too early.
This cooling time is where the sugars harden and the clusters set. If you break it up while it’s warm, you lose everything you worked for.
Once fully cooled, add your dried fruit or chocolate chips if using. Then break the sheet into big, satisfying chunks with your hands.
How to Serve It
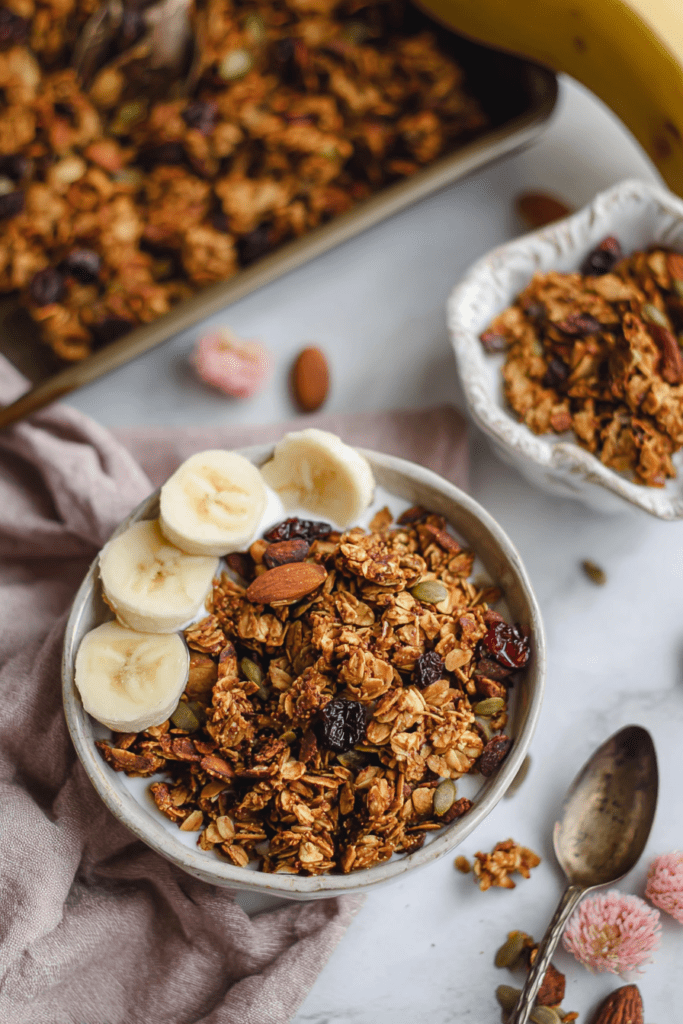
This granola is incredibly flexible. Here are my favorite ways to eat it:
- Over dairy-free yogurt with fresh blueberries and a tiny drizzle of maple syrup. The creamy tang of cashew or almond yogurt against the crunchy cinnamon clusters is genuinely one of my favorite breakfasts.
- On top of a smoothie bowl. Blend frozen bananas and berries, then pile the clusters on top. They hold their crunch even against cold purees.
- With oat milk, like cereal. Simple, satisfying, better than anything in a cardboard box.
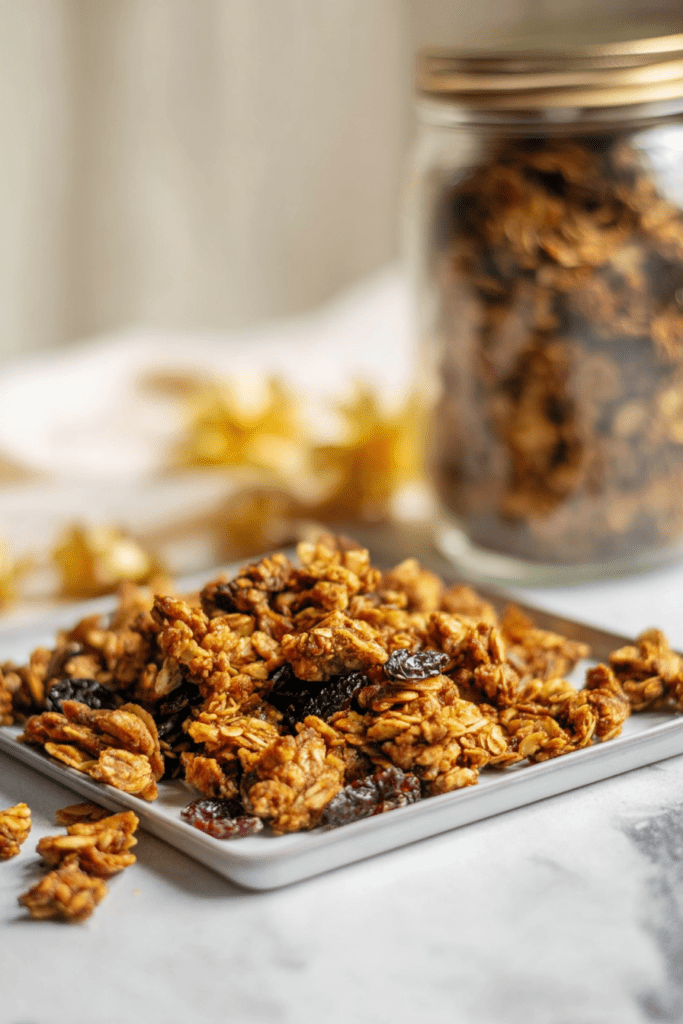
Storage Tips
Always store your granola in an airtight glass jar once it’s completely cool. Keep it in a cool, dark pantry. Do not refrigerate it. The humidity in the fridge will soften it and kill the crunch.
Stored properly, it stays fresh and crispy for up to three weeks. Though honestly, in my house, it never lasts that long.
Frequently Asked Questions
Can I use quick oats instead of rolled oats?
Please don’t. Quick oats are much thinner and cook too fast. They turn soft and powdery when mixed with the wet ingredients. Stick to thick, old-fashioned rolled oats for proper texture and structure.
Why did my coconut flakes burn?
Two likely reasons. First, your oven might run hotter than the dial says. An oven thermometer is a cheap fix for this. Second, you may have used finely shredded coconut instead of large flakes. Fine shreds toast very fast and burn easily. Always use thick coconut flakes.
Can I make this nut-free?
Absolutely. Swap the almond or peanut butter for sunflower seed butter. Replace the almonds and walnuts with extra pumpkin seeds and sunflower seeds. The method and baking times stay exactly the same.
When do I add the chocolate chips?
Always after the granola has cooled completely. Adding them to a hot pan melts them into a messy chocolate coating. Wait the full 45 minutes, then stir them in.
Why didn’t my granola form clusters?
Two common mistakes. Either you didn’t press the mixture down firmly enough before baking, or you stirred it while it was still warm. Both destroy the cluster formation. Pack it tightly before it goes in the oven, and leave it completely alone while it cools.
Baking granola from scratch is one of those simple kitchen projects that gives back way more than it takes. Thirty-six minutes of effort. Three weeks of the best breakfast you’ve had in a while.
Happy baking!
Homemade Vegan Granola Clusters
Ingredients
Wet Ingredients
- 1/3 cup Grade A maple syrup 80 ml; provides natural sweetness and binds clusters
- 1/3 cup nut or seed butter ~80 g; almond, peanut, or sunflower seed butter works perfectly
- 1 tsp vanilla extract enhances the warm flavor profile
- 1/2 tsp fine sea salt balances the sweetness
- 1 tbsp ground cinnamon adds cozy aromatic spice
Dry Ingredients
- 2 cups rolled oats 160 g; do not use instant oats
- 1/2 cup pumpkin seeds 32 g; raw, unsalted green pepitas
- 1/2 cup slivered almonds 54 g; toasts more evenly than whole
- 1/2 cup walnuts 58 g; roughly chopped
- 1/2 cup unsweetened coconut flakes ~50 g; must be thick flakes to avoid burning
- 1/3 cup dried fruit or chocolate chips 40 g; add strictly after the baking process
Instructions
- Preheat your oven to 325°F (163°C). Line a large, rimmed baking sheet with a silicone baking mat or parchment paper.
- In a large mixing bowl, whisk together the maple syrup, nut butter, vanilla extract, salt, and cinnamon until the mixture is glossy and smooth.
- Fold in the rolled oats, pumpkin seeds, almonds, walnuts, and coconut flakes. Use a spatula to ensure every piece is thoroughly coated with the syrup mixture.
- Pour the mixture onto the prepared baking sheet. Spread to the edges and press down firmly with a spatula to pack it tightly into a single even layer.
- Bake for 13 minutes. Remove from the oven, gently flip and toss the mixture, then press it back down flat again.
- Return to the oven for another 10 to 13 minutes until deep golden brown.
- Let the granola cool completely on the pan for at least 45 minutes without touching it. This allows the clusters to harden.
- Once cooled, stir in your dried fruit or chocolate chips and break the sheet into big chunks.