
Let me tell you something about overripe bananas.
Most people see those dark, spotty bananas sitting on the counter and think they’ve gone bad. I used to do the same thing. I’d toss them without a second thought.
Big mistake.
Those sad-looking bananas? They’re actually gold. They’re sweeter, softer, and packed with way more flavor than the bright yellow ones. And when you mash them into pancake batter… something special happens.
I’ve made these banana pancakes more times than I can count. Weekend mornings, lazy Sundays, even the occasional “breakfast for dinner” night. Every single time, the stack disappears before it even hits the table.
So today, I’m walking you through everything. The science behind the ingredients, the technique, the little tricks that separate flat rubbery pancakes from tall fluffy golden ones.
Let’s get into it.
Before You Start: Quick Overview
This recipe is completely beginner-friendly. No fancy equipment. No complicated steps. Just a couple of bowls, a nonstick pan, and about 25 minutes of your time.
| Prep Time | 10 minutes |
| Cook Time | 15 minutes |
| Total Time | 25 minutes |
| Servings | 4 (about 8 pancakes) |
| Difficulty | Easy |
Why These Ingredients Actually Matter
Every single item in this recipe is doing a real job. Nothing is here by accident. Before you start mixing, it helps to understand why each ingredient is on the list.
| Ingredient | Quantity | Why It’s Here |
|---|---|---|
| All-purpose flour | 1 cup | The base structure. Spoon and level it into the cup, never scoop directly from the bag. |
| Baking powder (aluminum-free) | 1 tablespoon | More than you’d expect, but banana batter is heavy. You need the extra lift. |
| Ground cinnamon | ½ teaspoon | Adds warmth and depth. It pairs beautifully with banana flavor. |
| Salt | ¼ teaspoon | Balances the natural fruit sweetness. Never skip it. |
| Mashed overripe banana | ¾ cup (about 1½ large bananas) | The star of the show. Heavy brown spots mean more sugar and more flavor. |
| Large egg | 1 | Binds everything together and gives the pancakes their structure. |
| Milk (whole or 2%) | ¾ cup | Hydrates the batter and creates a soft, tender crumb. |
| Cooking spray | As needed | For lightly greasing the pan between each batch. |
| Sliced banana | As needed | Fresh topping for serving. |
| Maple syrup | As needed | The finishing touch. Real maple syrup makes a noticeable difference. |
Now let me talk about two ingredients that people consistently underestimate.
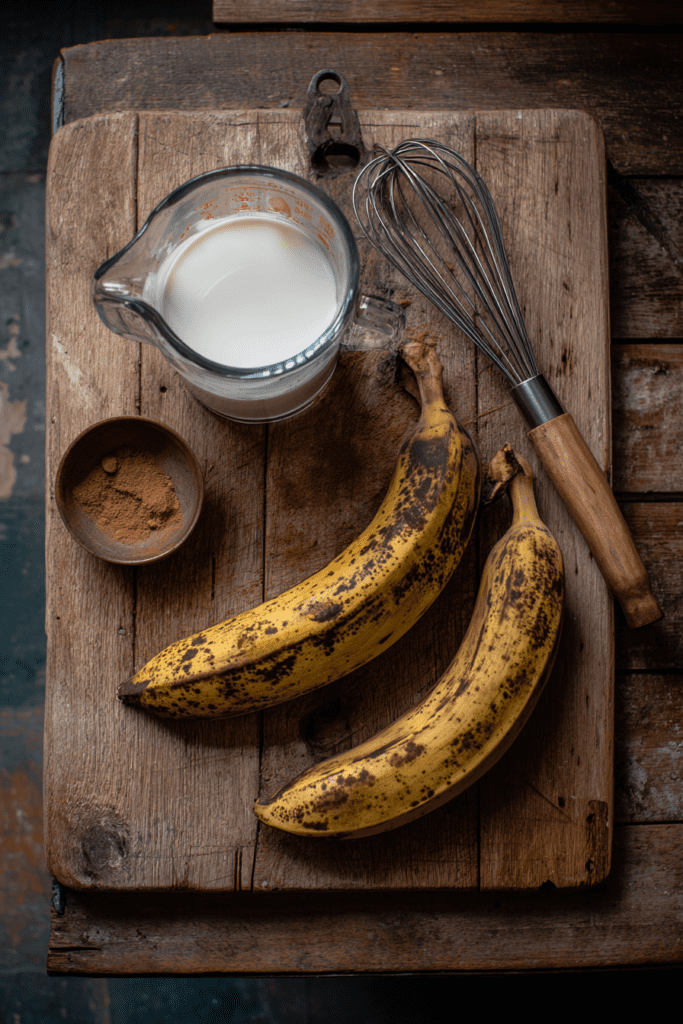
The bananas. You need overripe ones. Not just ripe. Overripe. When a banana sits long enough, its complex starches slowly break down into simple sugars. The result is a naturally sweeter, softer fruit that blends into batter effortlessly. A firm yellow banana will make your pancakes taste bland and starchy. Look for heavy brown spotting on the skin. That’s your green light.
The baking powder. A full tablespoon might look excessive. But here’s the thing: banana batter is dense. It’s significantly heavier than standard pancake batter. You need that extra leavening power to get any real height. Also make sure it’s fresh. Check the expiration date before you start. Expired baking powder is honestly the single most common reason pancakes come out flat and disappointing.
The Method: Step by Step
Step 1: Whisk the Dry Ingredients
Grab a medium bowl. Add the flour, baking powder, cinnamon, and salt. Whisk them together for about 30 seconds.
This does two things at once. It distributes the baking powder evenly so every pancake rises consistently. And it aerates the flour slightly, breaking up any hidden clumps at the bottom of the bowl.
Set it aside.
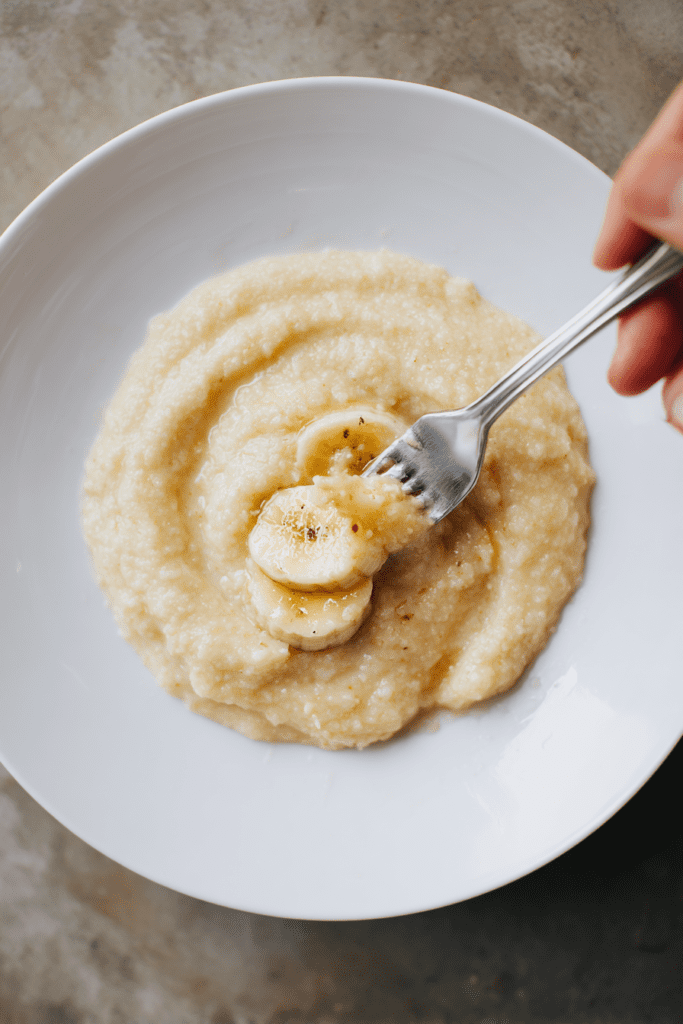
Step 2: Mash the Bananas
Peel your overripe bananas and place them on a flat plate or into a large bowl. Press down firmly with the back of a fork and mash until mostly smooth.
A few small lumps are completely fine. They’ll just melt into the batter during cooking anyway.
You need exactly ¾ cup of mashed banana. That works out to roughly one and a half large bananas.
Step 3: Build the Wet Mixture
In your large bowl, combine the mashed banana with the egg. Beat them together until blended. Then pour in the milk and whisk until the whole mixture looks smooth and uniform.
The egg proteins will hold the structure together as the pancakes cook. The milk brings everything to the right consistency.
Step 4: Combine Wet and Dry
This is the step that most people get wrong. And it makes all the difference.
Pour the dry ingredients into the wet ingredient bowl. Pick up a spatula. And fold gently.
Stop the moment the flour streaks disappear.
That’s it. No more stirring. The batter will look lumpy and a little rough. That is exactly what you want.
Here’s why this matters so much. When you overmix pancake batter, you develop the gluten network in the flour. Gluten is wonderful for making chewy bread. It is terrible for making fluffy pancakes. Just twenty extra stirs can turn a light, airy pancake into a dense, rubbery disc.
Once it’s folded together, set the batter aside and let it rest for five full minutes. This gives the flour time to absorb the liquid properly and allows the baking powder to start working.
Step 5: Get the Pan Ready
While the batter rests, place a large nonstick pan over medium heat. Let it warm up for two to three minutes.
Temperature control here matters more than most people realize. A pan that’s too hot will burn the outside of the pancake before the inside has time to set. A pan that’s too cold will make the batter soak up the oil and turn greasy.
Here’s a simple test I always use. Flick a tiny drop of water onto the surface. If it sizzles and skips across immediately, the pan is ready. Give it a light coat of cooking spray and you’re good to go.
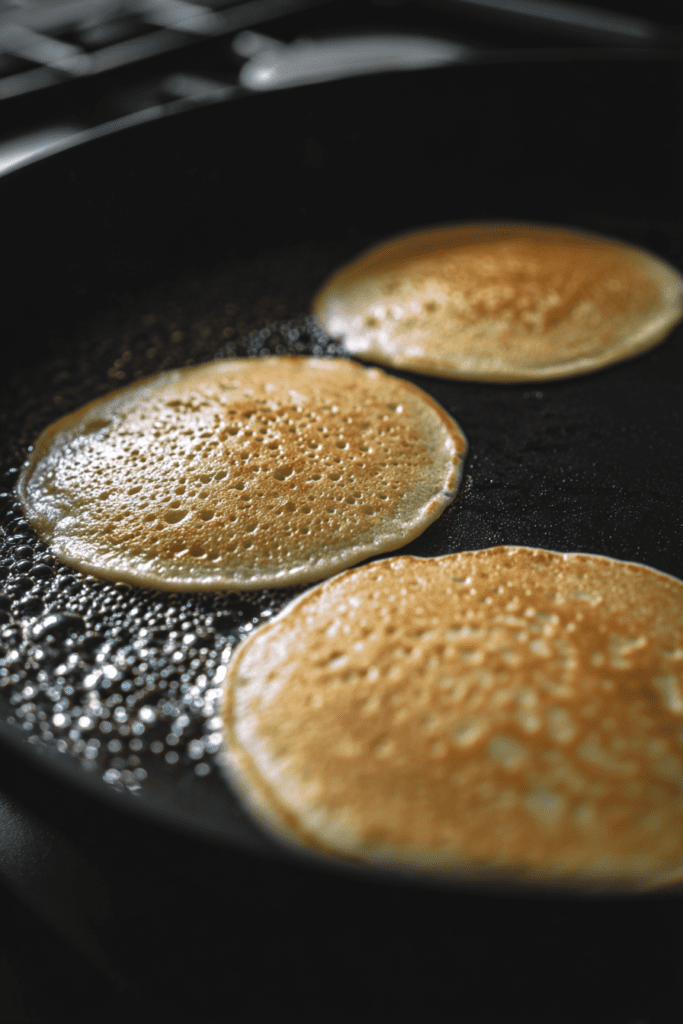
Step 6: Cook the Pancakes
Use a ⅓ cup measure to scoop your batter. Pour three or four circles into the pan, leaving a little space between each one.
Now just wait. Don’t press them down. Don’t move them around. Just watch the surface.
After two to three minutes, small bubbles will start forming and popping across the top. The edges will shift from shiny and wet to slightly dry and set. That’s your signal.
Slide a wide spatula underneath and flip in one confident move. Hesitating just makes it messier.
Cook the second side for one to two more minutes. The bottom should be a deep, even golden brown. You’ll notice the pancakes puff up quite a bit during this final stage.
Remove them from the pan. Repeat with the remaining batter. This recipe makes about eight pancakes total.
Common Problems and How to Fix Them
Even experienced cooks run into issues. Here’s a quick reference for the most common banana pancake problems.
| Problem | Most Likely Cause | The Fix |
|---|---|---|
| Flat, dense pancakes | Overmixed batter or expired baking powder | Fold gently and always check your leavening date |
| Burning outside, raw inside | Pan is too hot | Drop heat to medium-low immediately |
| Greasy, oily texture | Pan wasn’t hot enough before adding batter | Do the water droplet test before every batch |
| Batter too thick to pour | Bananas were unusually large | Add milk one tablespoon at a time until pourable |
| Weak banana flavor | Bananas weren’t ripe enough | Only use heavily spotted, very soft bananas |
Can I use a different type of milk?
Yes, absolutely. Almond milk, oat milk, and soy milk all work perfectly here. Swap them in at a straight one-to-one ratio. The texture barely changes at all.
How should I store leftovers?
Let the cooked pancakes cool completely to room temperature first. Then store them in an airtight container in the refrigerator for up to four days. They reheat beautifully in a toaster or a warm skillet.
Can I freeze them?
They freeze incredibly well. Stack the cooled pancakes with small squares of parchment paper placed between each one. This prevents them from freezing into a solid block. Slide the whole stack into a freezer-safe bag and store for up to three months. Reheat straight from frozen in the toaster or microwave.
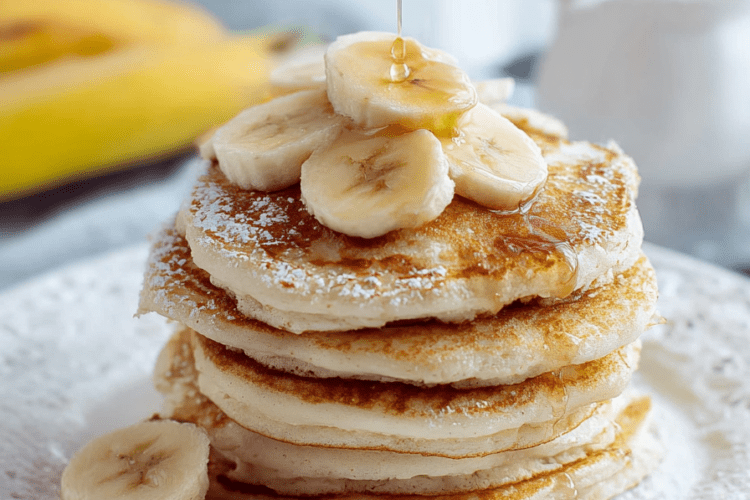
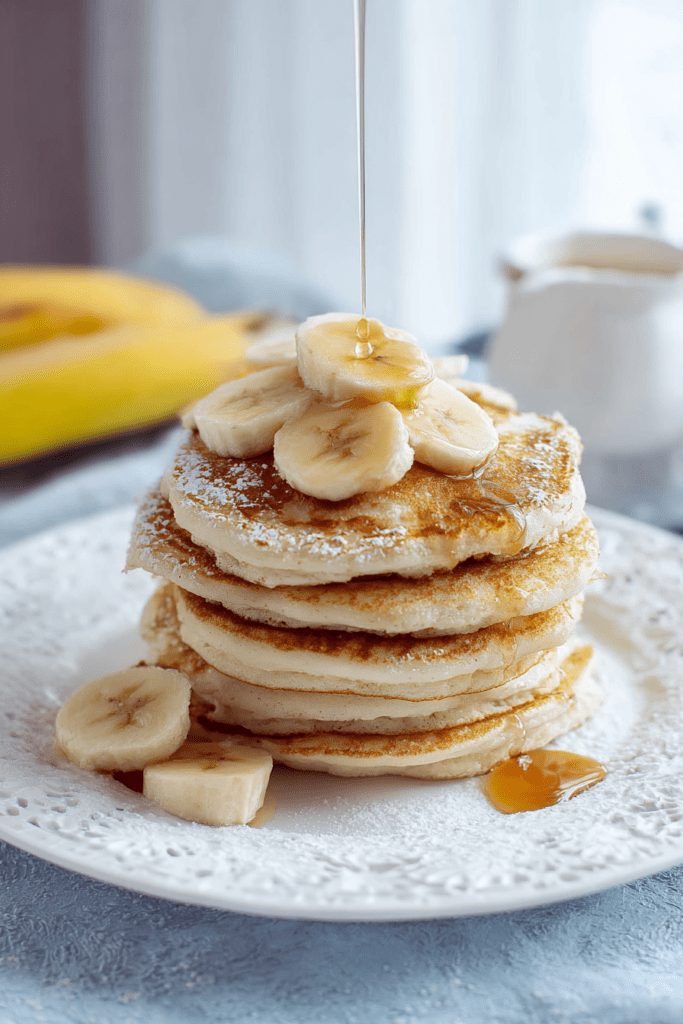
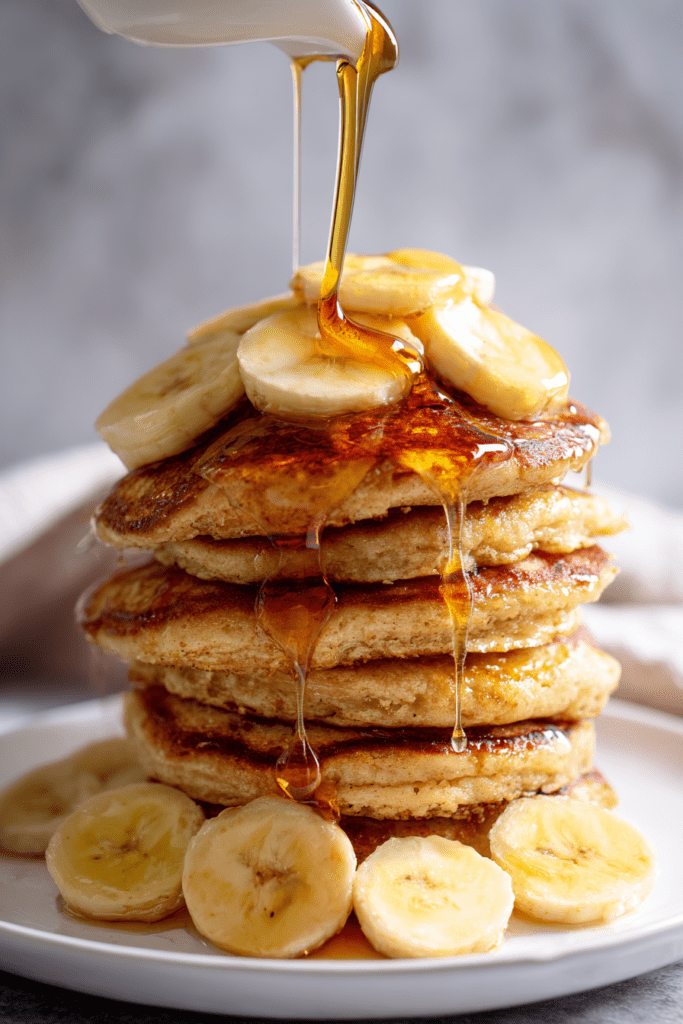
Plating and Serving
Presentation really does make food taste better. It sounds a little strange, but it’s completely true.
Stack three warm pancakes high in the center of a clean white plate. Take your reserved fresh banana and slice it into thin rounds. Arrange the slices over the top so they cascade naturally down the sides of the stack.
Then pour a generous drizzle of real maple syrup right over everything. The warm pancakes absorb it slowly from the edges inward. The contrast between the soft cooked banana inside the pancakes and the fresh slices on top is honestly one of the best parts of this whole dish.
Serve immediately while they’re still warm and tall. These are best eaten fresh off the pan, gathered around the table with people you actually like.
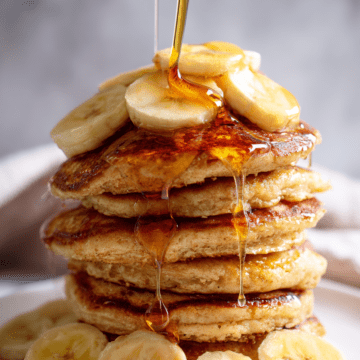
Fluffy Banana Pancakes
Ingredients
Dry Ingredients
- 1 cup all-purpose flour Spoon and level it into the cup, never scoop directly from the bag.
- 1 tablespoon baking powder aluminum-free
- 1/2 teaspoon ground cinnamon
- 1/4 teaspoon salt
Wet Ingredients
- 3/4 cup mashed overripe banana about 1½ large bananas
- 1 large egg
- 3/4 cup milk whole or 2%
For Cooking & Serving
- As needed cooking spray For lightly greasing the pan
- As needed sliced banana Fresh topping for serving
- As needed maple syrup Real maple syrup makes a noticeable difference
Instructions
- Whisk the Dry Ingredients: Grab a medium bowl. Add the flour, baking powder, cinnamon, and salt. Whisk them together for about 30 seconds. Set it aside.
- Mash the Bananas: Peel your overripe bananas and place them on a flat plate or into a large bowl. Press down firmly with the back of a fork and mash until mostly smooth.
- Build the Wet Mixture: In your large bowl, combine the mashed banana with the egg. Beat them together until blended. Then pour in the milk and whisk until the whole mixture looks smooth and uniform.
- Combine Wet and Dry: Pour the dry ingredients into the wet ingredient bowl. Pick up a spatula and fold gently. Stop the moment the flour streaks disappear. Set the batter aside and let it rest for five full minutes.
- Get the Pan Ready: While the batter rests, place a large nonstick pan over medium heat. Let it warm up for two to three minutes. Do the water drop test to ensure it is ready, then give it a light coat of cooking spray.
- Cook the Pancakes: Use a ⅓ cup measure to scoop your batter into the pan. After two to three minutes, when small bubbles form and edges set, flip. Cook the second side for one to two more minutes until golden brown.