
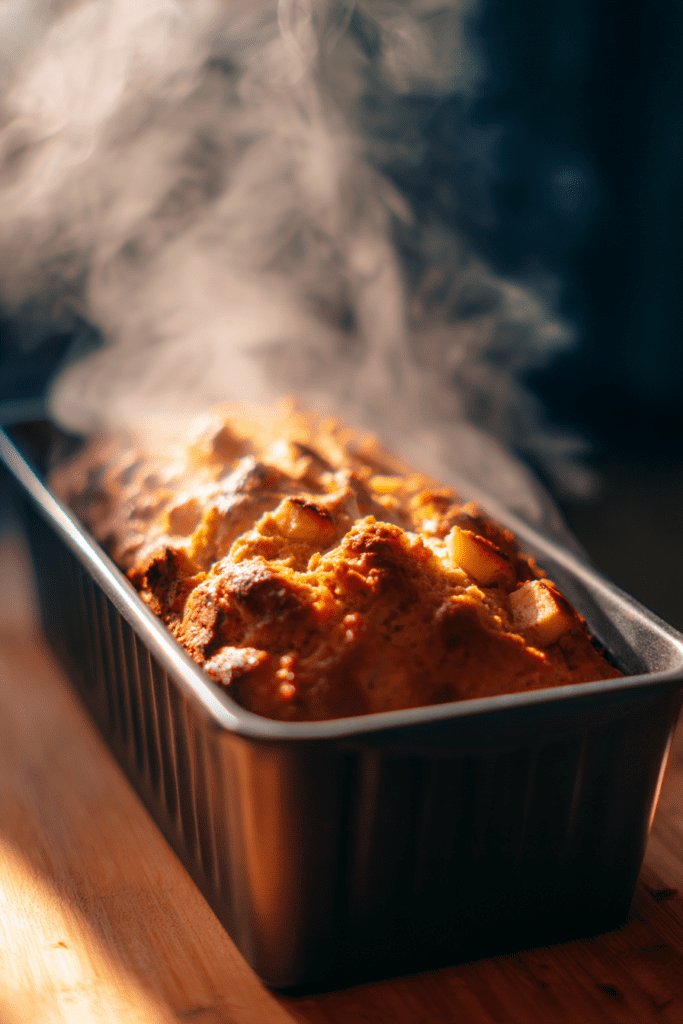
You know that feeling when bread bakes and your whole house smells like heaven?
That’s what I’m talking about.
I’ve got a thing for quick breads. Always have. But when fall rolls around and the air gets that crisp bite? That’s when I really go overboard. They’re ridiculously easy to make, even if you’ve never baked before. Plus, they make the best gifts during the holidays.
So here’s how this recipe came to be.
Last fall, I was wandering through our local farmers market. Nothing special, just browsing. Then I spotted this Amish vendor selling apple fritter bread alongside fresh cider. One bite and… wow. I had to know how they made it.
The vendor was sweet enough to share a few tips. I went home, tested different versions for weeks, and finally nailed it.
What Makes This Bread So Good
This isn’t just another quick bread recipe.
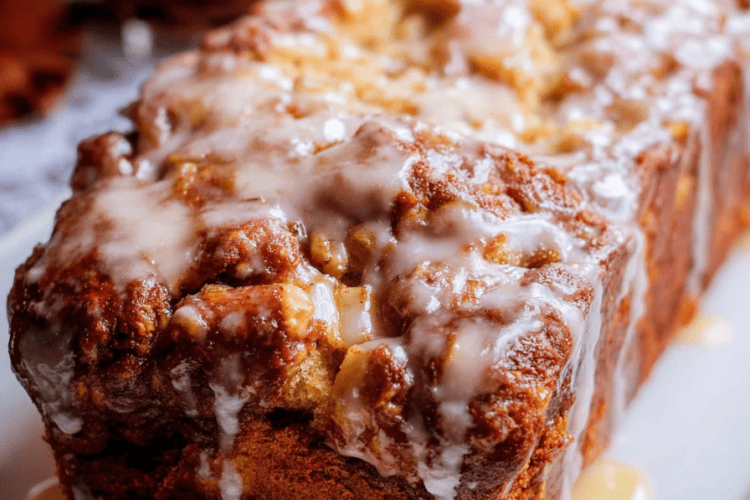
Think about biting into a warm apple fritter. Now imagine getting that same exact taste without dealing with hot oil or messy frying. That’s this bread.
You get:
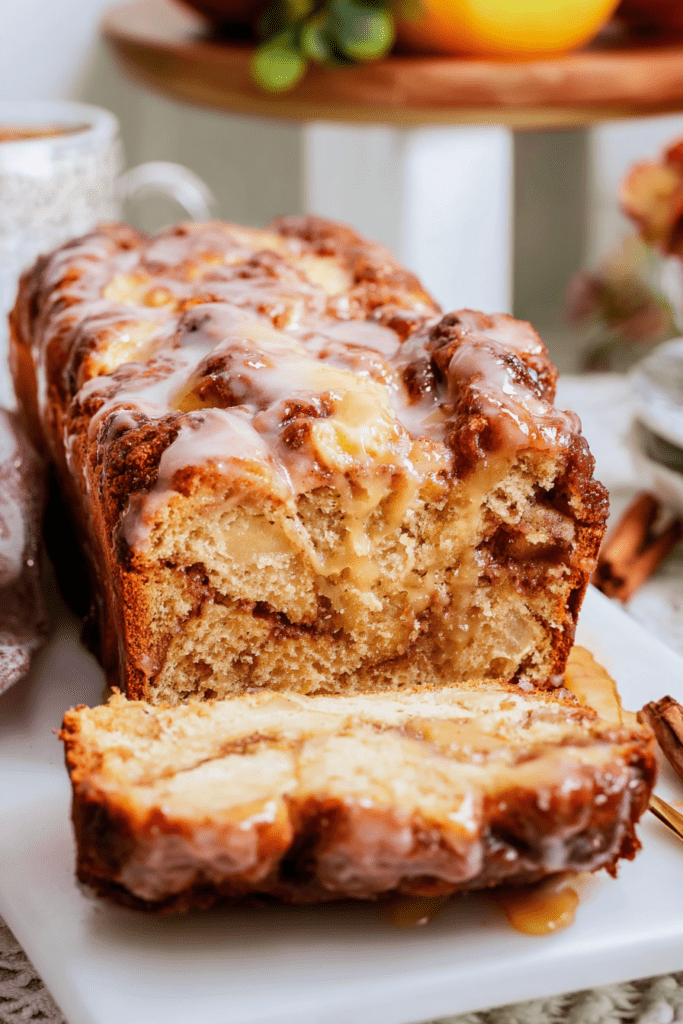
- Tender, spiced apple chunks throughout
- A caramelized apple topping that’s ridiculously good
- That cinnamon-sugar swirl everyone loves
- A texture that’s somewhere between cake and bread
The best part?
It takes maybe ten minutes to mix everything together. No fancy equipment. No complicated techniques. Just straightforward baking.
Here’s the secret.
We coat apple chunks in warm spices. Most of them get folded into the batter. But we save some for the top. Those top pieces? They caramelize while baking and create this incredible crust that people go crazy for.
Why I Keep Making This
I’ve lost count of how many times I’ve baked this bread.
It never gets old.
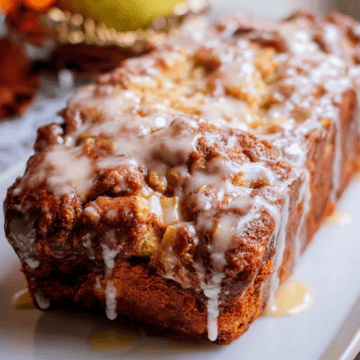
The tart apples balance perfectly with the sweet brown sugar. The ginger adds this warm note that makes the cinnamon taste even better. And that vanilla glaze on top?
It takes the whole thing to another level.
This bread stays moist for days. I’ve wrapped cooled loaves in parchment paper and given them to neighbors. Months later, they’re still asking when I’m making more.
During Thanksgiving?
I make three batches. Minimum. Because everyone wants one.
The smell alone is worth making it. As this bakes, your kitchen fills with cinnamon, vanilla, and caramelized apples. Better than any expensive candle. My friends literally ask “what are you cooking?” before they even step inside.
I eat mine with morning coffee. Sometimes as an afternoon snack. Other times, I slice it thin and serve it with hot tea for a cozy fall moment.
It fills you up without making you feel heavy. Just right.
What You’ll Need
Let me break down every ingredient and why it matters.
| Ingredient | Quantity | Notes |
|---|---|---|
| Baking apples | 2 medium | Peeled and chopped; Granny Smith work perfectly |
| Light brown sugar | ½ cup | Adds moisture and deep caramel flavor |
| Ground cinnamon | 2 tsp | Heaping spoonfuls recommended for bold flavor |
| Ground ginger | 1 tsp | Provides warm, spicy undertone |
| Large egg | 1 | Room temperature for better incorporation |
| White granulated sugar | ⅓ cup | Sweetens the batter base |
| Vegetable oil | ¼ cup | Keeps bread moist; doesn’t harden when chilled |
| Full-fat sour cream | ¼ cup | Room temperature; creates tender crumb |
| Vanilla extract | 2 tsp | Use quality extract for best flavor |
| All-purpose flour | 1 cup | Standard unbleached works great |
| Baking soda | 1 tsp | Check freshness; replace if older than six months |
| Kosher salt | ½ tsp | Enhances overall flavor balance |
| For Glaze: | ||
| Powdered sugar | 1 cup | Sifted to prevent lumps |
| Vanilla extract | 1 tsp | Adds aromatic sweetness |
| Milk | 3 tbsp | Whole milk preferred; adjust for consistency |
Let’s Talk Ingredients
Apples
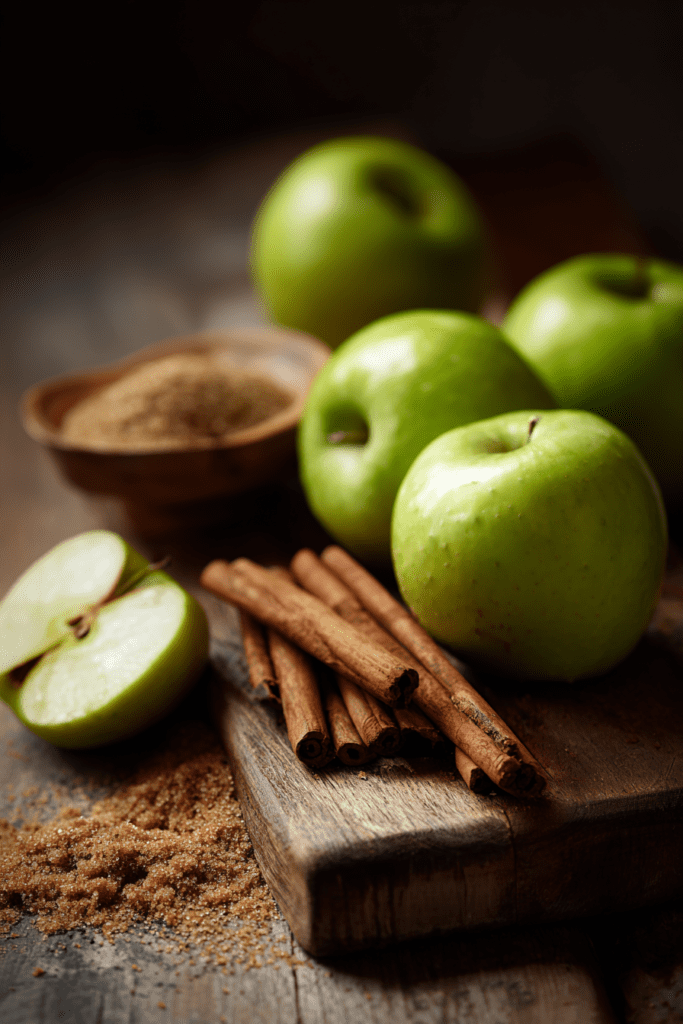
You need firm baking apples. The kind that hold their shape when they get hot.
Granny Smith is my go-to. They’re tart, which balances out all that sweetness perfectly. But Honeycrisp, Pink Lady, or Fuji work great too.
Skip the Red Delicious or McIntosh. They turn to mush.
Vegetable Oil
I always use oil instead of butter in quick breads.
Why?
Butter gets hard when it’s cold. So does bread made with butter. Oil keeps everything soft and tender, even after a few days in the fridge.
That said… melted butter works if you really want that buttery flavor. Your call.
Sour Cream
This is huge for moisture.
Full-fat sour cream makes this bread incredibly tender. You can use Greek yogurt instead, but the taste is a bit different. If you go that route, match the fat content.
Baking Soda
Fresh matters here.
Baking soda loses its power after about six months. Want to test yours? Drop a pinch into vinegar. If it fizzes like crazy, you’re good. If not? Toss it and get fresh.
Brown Sugar
The molasses in brown sugar does two things. It adds complexity. And it keeps the bread moist.
I use light brown sugar, but dark brown works if you want deeper caramel notes.
Time to Bake
Alright, let’s do this. I’ll walk you through every step, plus share the little tricks I’ve picked up.
Getting Started
Step 1: Heat It Up
Crank your oven to 350°F.
While it’s heating, prep your loaf pan. Either spray it with nonstick spray or line it with parchment paper. I like making a parchment sling—just let it hang over the sides. Makes removing the bread super easy later.
Step 2: Make the Apple Mix
Grab a medium bowl.
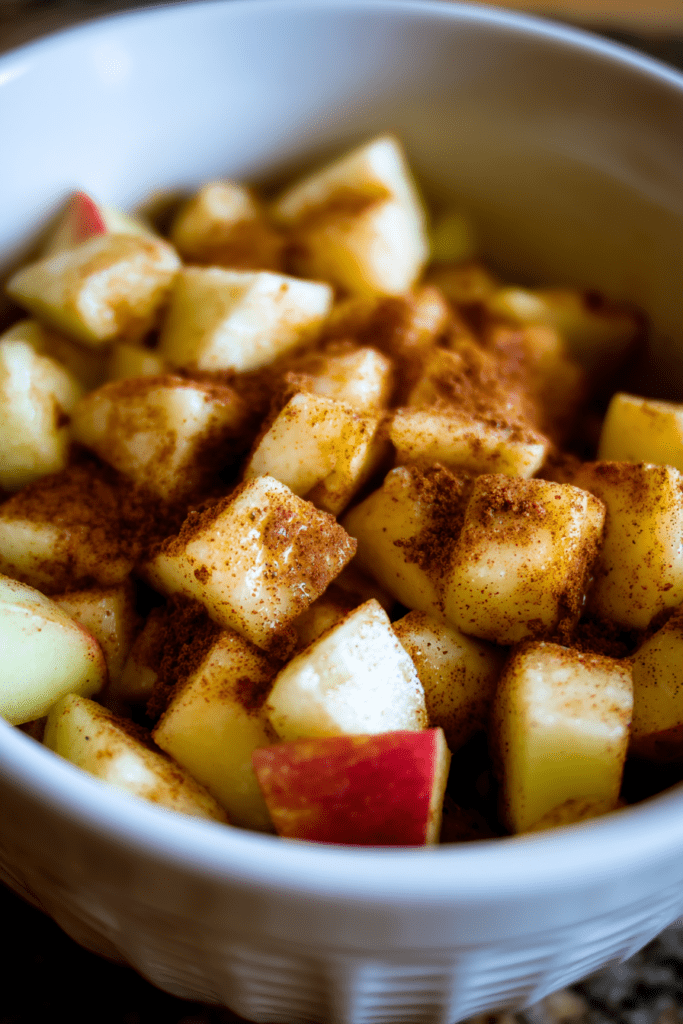
Toss in your chopped apples, brown sugar, cinnamon, and ginger. Mix it all together until every apple piece is coated.
Here’s what happens…
The sugar pulls juice from the apples. Creates this natural syrup. Set this bowl aside while you make the batter.
Step 3: Wet Stuff First
Get your biggest mixing bowl.
Crack in the egg. Add the granulated sugar, vegetable oil, sour cream, and vanilla extract. Whisk hard for about thirty seconds.
You want it smooth and creamy. Slightly thick.
Step 4: Add the Dry Stuff
In another bowl, whisk together flour, baking soda, and salt.
This step matters because it spreads the baking soda evenly.
Now add your dry mix to the wet stuff. Use a rubber spatula or wooden spoon. Fold gently. Mix just until you don’t see dry flour anymore.
See some small lumps?
Perfect. Leave them. Overmixing makes tough bread, and nobody wants that.
Step 5: Apple Time
Remember that apple mixture?
Save about a quarter of it for the top. Fold the rest into your batter. Be gentle here. You want to keep those apple chunks intact.
Baking It
Step 6: Put It Together
Pour your batter into the prepared pan. Spread it out evenly.
Now for the fun part.
Take those reserved apple chunks and scatter them all over the top. During baking, they’ll caramelize and create this amazing golden crust.
Tap the pan on your counter a couple times. Gets rid of air bubbles.
Step 7: Into the Oven
Slide it into your 350°F oven.
Set a timer for fifty minutes.
How do you know it’s done? Stick a toothpick in the center. It should come out clean with maybe a few moist crumbs. No wet batter. If you’ve got a thermometer, check for 200°F inside.
Important tip here.
Don’t open the oven for the first forty minutes. Every time you open it, the temperature drops. That messes with the rise.
If the top starts getting too brown? Tent it loosely with foil.
Step 8: The Hardest Part
Waiting.
I know your kitchen smells incredible right now. But you’ve got to let this bread cool in the pan for at least thirty minutes. I usually wait a full hour.
Why?
If you cut into it too soon, it crumbles. The structure needs time to set.
Making the Glaze
Step 9: Whisk It Up
While you’re waiting, make the glaze.
Sift your powdered sugar into a small bowl. Gets rid of lumps. Add vanilla and milk. Whisk until it’s completely smooth.
The consistency should look like thick cream. Pourable, but not watery.
Too thick? Add milk, one teaspoon at a time.
Too thin? Sift in more powdered sugar slowly.
Step 10: Glaze Time
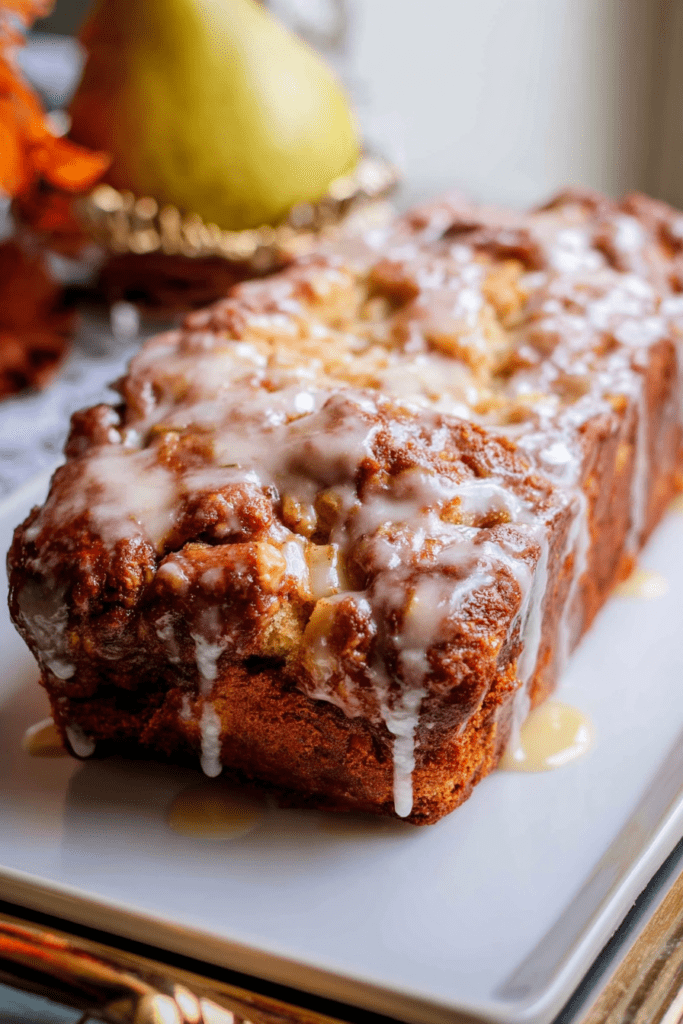
Once your bread is completely cool, drizzle that glaze all over the top.
Let it cascade down the sides naturally. Looks beautiful. Tastes even better.
Give it about ten minutes to set before you slice.
Quick Tips
Checking Doneness
Stick a toothpick in the thickest part. Should come out with a few moist crumbs. No wet batter. The top should spring back when you press it gently.
Preventing Sticking
Worried about the bread sticking? Use both spray and parchment paper. The paper creates a sling you can lift the whole loaf out with.
Apple Pieces
Cut them into uniform half-inch chunks. Everything cooks evenly that way. Better texture in every slice.
Batter Thickness
Your batter should be thick but still pourable. Think cake batter. If it seems off, double-check your measurements before adding anything.
Storing This Bread
Let’s talk about keeping this fresh.
On the Counter
Once it’s completely cool, wrap it tight in plastic wrap.
Store in an airtight container or a big resealable bag. Stays fresh for two full days on the counter. The glaze might soften a bit, but the flavor’s still fantastic.
In the Fridge
Want it to last longer?
Refrigerate the wrapped bread. It’ll keep for up to a week. The sour cream and oil keep it moist even when chilled.
Let slices warm up to room temperature before eating. Or pop them in the microwave for a few seconds.
Freezer Storage
This bread freezes like a dream.
Wrap the cooled bread in multiple layers of plastic wrap. Then stick it in a freezer-safe bag. Keeps for three months, easy.
To thaw? Just leave it on the counter overnight. Comes back to the original texture. No sogginess.
I make double batches just so I can freeze extras.
My Best Tips
Pick the Right Apples
This matters more than you’d think.
Granny Smith gives you that perfect tartness. Honeycrisp adds natural sweetness. But avoid anything soft like Red Delicious. They get mushy and leak too much juice.
Room Temperature Everything
Cold eggs and sour cream don’t mix smoothly.
Set them out thirty minutes before you start baking. Sounds simple, but it makes a real difference in texture.
Don’t Rush the Cooling
I get it. Your kitchen smells amazing and you want to dive in.
But cutting warm bread? It crumbles and falls apart. Wait it out. You’ll get clean, perfect slices.
Try Different Pans
This recipe isn’t picky about pan size.
Got an 8×4-inch pan? Works. 9×5-inch? Also works. Even fancy decorative pans are fine. Just adjust the baking time a bit if you go smaller—might need five extra minutes.
Make Two
Seriously.
One loaf never lasts. Make two. The recipe doubles perfectly with zero adjustments. You’ll thank me later.
Questions You Might Have
Can I swap out the sour cream?
Yep.
Use the same amount of Greek yogurt. Or if you want to use just milk, bump it up to ⅔ cup total. Add a tablespoon of vinegar or lemon juice to it. Let it sit five minutes before mixing. This makes a buttermilk substitute that gives you the acidity you need.
What if I’m out of brown sugar?
Make your own.
Mix one tablespoon of molasses with one cup of white sugar. Done. Or just use all white sugar. You’ll lose some depth, but it still tastes good.
Can I make muffins instead?
Absolutely.
Divide the batter into twelve muffin cups. Top each with a few apple pieces. Bake for twenty to twenty-five minutes. Start checking at twenty.
Why did my bread sink in the middle?
Two common reasons.
Either you opened the oven too early, or your baking soda was old. Make sure your leavening is fresh. And resist peeking for the first forty minutes.
How do I keep the glaze from soaking in?
Wait for complete cooling.
Warm bread sucks up glaze instantly. Nothing stays on top. Room temperature bread lets the glaze sit beautifully on the surface and set properly.
Can I throw in nuts or other stuff?
Go for it.
Fold in ½ cup of chopped walnuts or pecans. Raisins work. Dried cranberries too. Even white chocolate chips if that’s your thing. Just keep total mix-ins under one cup.
My Final Take
This Amish apple fritter bread has become my autumn staple.
It’s easy enough for someone who’s never baked. But impressive enough to serve at gatherings. The tender spiced apples, the moist crumb, that sweet glaze… it all comes together into something special.
Make it once.
I promise you’ll be making it again and again. The recipe’s forgiving. It’s adaptable. And it always delivers.
Whether you’re baking for yourself or sharing with people you love, this bread just feels like comfort and warmth.
Now go bake. Enjoy every bite.
Amish Apple Fritter Bread
Ingredients
Bread
- 2 baking apples medium, peeled and chopped; Granny Smith work perfectly
- 1/2 cup light brown sugar
- 2 tsp ground cinnamon heaping spoonfuls recommended
- 1 tsp ground ginger
- 1 large egg room temperature
- 1/3 cup white granulated sugar
- 1/4 cup vegetable oil
- 1/4 cup full-fat sour cream room temperature
- 2 tsp vanilla extract
- 1 cup all-purpose flour
- 1 tsp baking soda
- 1/2 tsp kosher salt
Vanilla Glaze
- 1 cup powdered sugar sifted
- 1 tsp vanilla extract
- 3 tbsp milk whole milk preferred
Instructions
- Preheat oven to 350°F. Spray a loaf pan with nonstick spray or line with parchment paper, letting it hang over the sides for easy removal.
- In a medium bowl, combine chopped apples, brown sugar, cinnamon, and ginger. Mix until apples are well coated. Set aside.
- In a large mixing bowl, whisk together egg, granulated sugar, vegetable oil, sour cream, and vanilla extract for about 30 seconds until smooth and creamy.
- In a separate bowl, whisk together flour, baking soda, and salt.
- Add dry ingredients to wet ingredients. Fold gently with a rubber spatula until just combined. Some small lumps are okay – don’t overmix.
- Reserve about one quarter of the apple mixture for topping. Fold the remaining apples gently into the batter.
- Pour batter into prepared loaf pan and spread evenly. Scatter reserved apple chunks over the top. Tap pan on counter a couple times to remove air bubbles.
- Bake for 50 minutes, or until a toothpick inserted in the center comes out clean with a few moist crumbs. If top browns too quickly, tent loosely with foil.
- Let bread cool in pan for at least 30 minutes to 1 hour before removing. This prevents crumbling.
- While bread cools, make the glaze: Sift powdered sugar into a small bowl. Add vanilla and milk. Whisk until completely smooth. Adjust consistency with more milk or powdered sugar as needed.
- Once bread is completely cool, drizzle glaze over the top. Let set for 10 minutes before slicing.